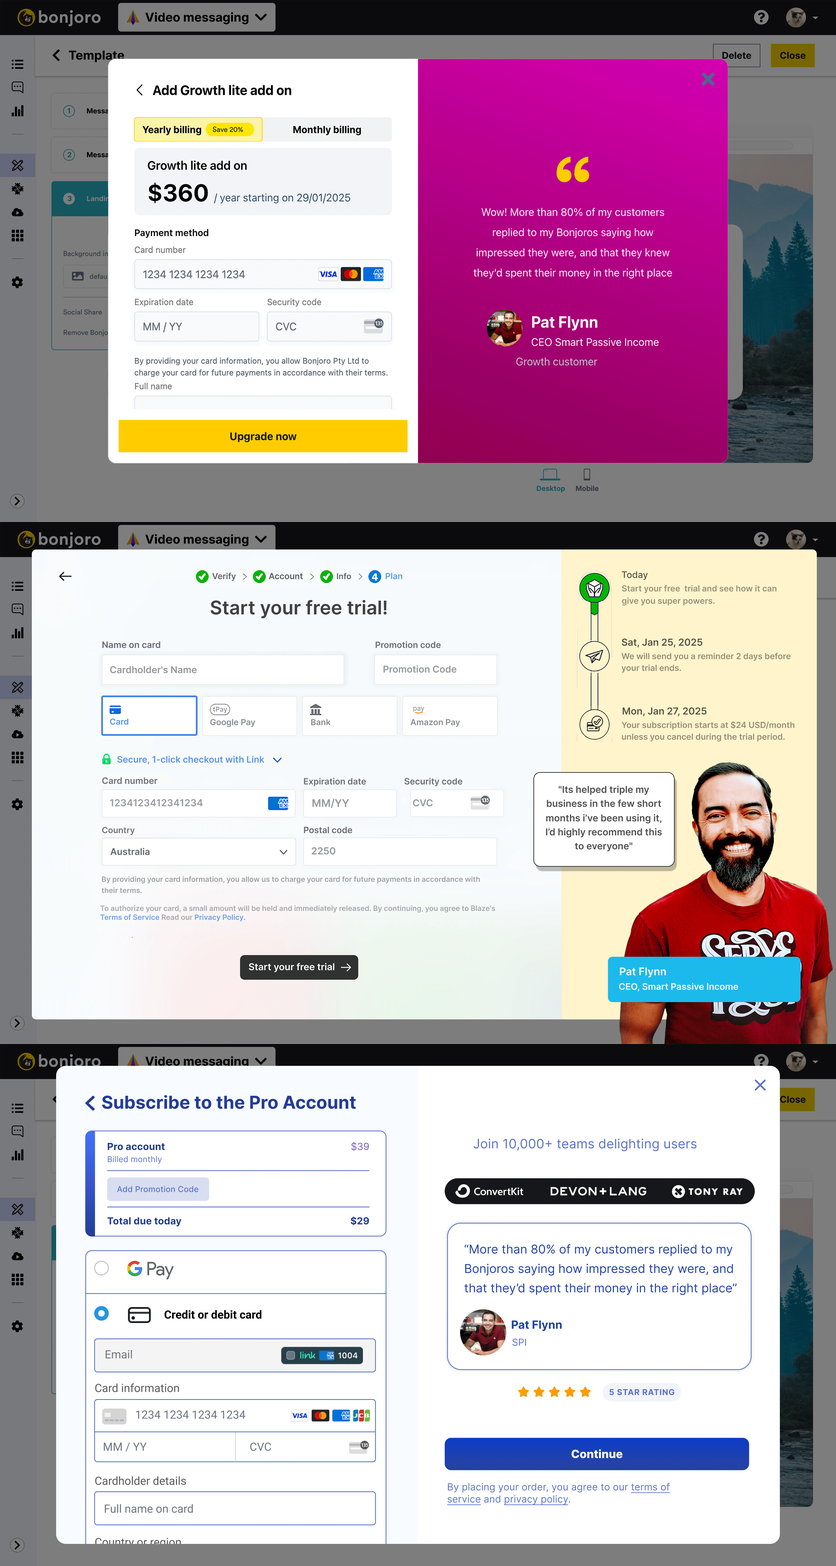
Paywalls
You will learn the following:
- Create and customize paywall experiences
- Configure triggers and billing logic
- Track and optimize conversion rates
- Implement A/B testing

Plandalf's paywalls are designed to help you maximize conversion while providing a seamless user experience. Our system combines powerful customization with data-driven optimization, all managed through a no-code dashboard.
How It Works
Flows & Triggers
A flow represents a complete upgrade journey in your app. Each flow has:
- A unique identifier (e.g.,
premium_features,usage_limit) - Trigger conditions defined in the dashboard
- Multiple possible scenarios
- Analytics tracking built-in
// Check if a flow is currently active
const isActive = plandalf.isWorkflowActive('premium_features');

if (isActive) {
  // Flow is already in progress
  return;
}
Scenarios & Elements
Scenarios and elements are configured entirely in the dashboard. Your code only needs to dispatch events - the dashboard handles which scenario to show and how to track it.
Scenarios determine which experience to show based on conditions you define in the dashboard:
- User segments
- Usage patterns
- Previous interactions
- Custom rules
Elements are the actual UI components shown to users:
- Custom designed in Figma
- Attached to specific scenarios
- A/B tested variants
- Fully responsive
Example dashboard configuration:
Flow: "premium_features"
├── Trigger: "feature_accessed"
│   └── Condition: "user.plan === 'free'"
│
├── Scenario: "first_time"
│   ├── Condition: "!user.has_seen_paywall"
│   └── Element: "feature-highlight-wall"
│
├── Scenario: "usage_limit"
│   ├── Condition: "user.usage > user.limit"
│   └── Element: "usage-upgrade-wall"
│
└── Scenario: "returning_user"
    ├── Condition: "user.has_seen_paywall"
    └── Element: "simplified-wall"
Analytics Integration
Analytics are automatically handled based on your dashboard configuration:
- Entry events when scenarios are shown
- Interaction tracking for each element
- Conversion attribution to scenarios
- A/B test performance tracking
Implementation Steps
1. Define Your Flows
In the dashboard:
- Create a new flow
- Define trigger events
- Set up scenarios and conditions
- Attach UI elements
2. Add Trigger Points
In your code, simply dispatch events at key moments:
// When a premium feature is accessed
plandalf.dispatch('feature_accessed')

// When usage limits are reached
plandalf.dispatch('usage_limit_reached')

// When trial period is ending
plandalf.dispatch('trial_ending')
3. Handle Active Flows
Check for active flows before starting new ones:
// Before showing a new upgrade prompt
if (!plandalf.isWorkflowActive('premium_features')) {
  plandalf.dispatch('feature_accessed')
}
Best Practices
Trigger Placement
- Identify natural upgrade moments
- Don't interrupt critical user flows
- Space out trigger attempts
- Consider user engagement levels
Scenario Design
- Start with broad scenarios
- Refine based on data
- Test different messaging
- Personalize by segment
Flow Management
- One flow per upgrade path
- Clear trigger conditions
- Consistent scenario naming
- Regular performance review
Need help designing your upgrade flows? Our team can help you identify the best trigger points and create optimized scenarios for your use case.
